3 DIY Photo Backdrops That Look Expensive, But Aren’t!
Let’s be honest: did a party even happen if it wasn’t documented on Instagram?
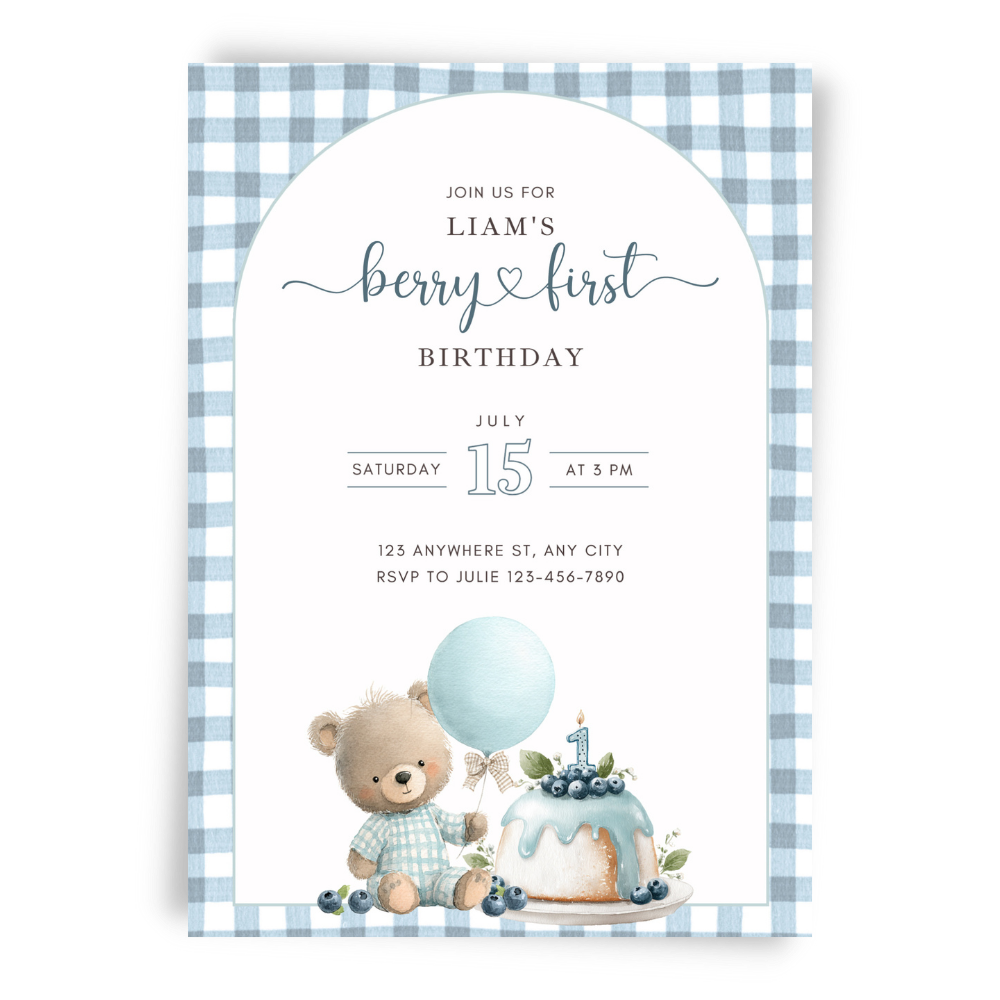
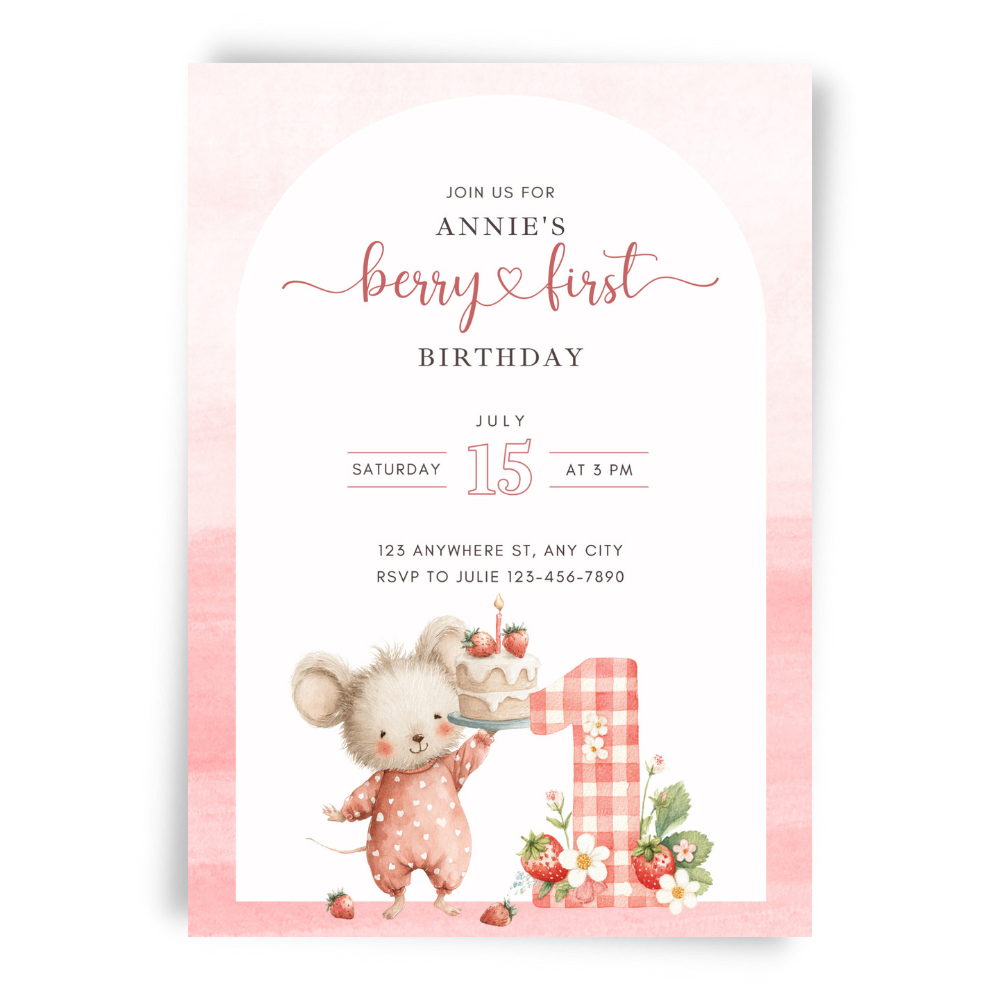
Sending a beautiful invitation sets the tone before the party even starts. It builds anticipation and lets guests know what kind of vibe to expect. But once they arrive, the photo backdrop is where the memories are actually made.
Having a designated “photo spot” does two things: it encourages guests to take pictures (taking the pressure off you as the host), and it ensures those pictures look amazing instead of featuring your kitchen cabinets in the background.
You don’t need to hire a professional staging company to get a high-end look. Here are three DIY photo ops ranging from “super budget-friendly” to “totally trendy” that you can tackle in an afternoon.
The Color Pop Streamer Wall (Budget-Friendly)
This is the biggest bang for your buck in the party world. Crepe paper streamers are incredibly cheap, come in every color imaginable, and make a massive visual impact when grouped together.
The Vibe: Fun, playful, and highly customizable.
What You Need:
- Crepe paper rolls in 3–5 colors that match your invitation palette.
- Masking tape or painter’s tape.
- Scissors.
- A blank wall or doorway.
The How-To:
- Create the anchor: Run a long strip of masking tape horizontally across the top of the wall where you want the backdrop to begin. Stick it securely to the wall (painter’s tape is safer for paint!).
- Cut your lengths: Cut long strips of crepe paper that reach from your top anchor tape all the way to the floor.
- Stick ’em up: Press the top of a crepe paper strip onto the sticky side of your anchor tape. Repeat, alternating colors.
The secret sauce: For texture, don’t just let them hang flat. Twist the streamers as you let them fall, or overlay them slightly so the wall doesn’t show through.
Whimsy Styling Tip: If your Whimsy Invite features blush pink, sage green, and gold, buy streamers in those exact shades. The color coordination makes it look intentionally designed, not just thrown together.
The Modern Balloon Garland (Trendy)
Balloon arches used to look stiff and outdated. The modern “organic” balloon garland—where balloons of different sizes are clustered together—is currently the reigning champion of party decor.
The Vibe: Modern, architectural, and celebratory.
What You Need:
- A LOT of balloons: You need at least 50-80 for a decent-sized garland.
- Key tip: Get three different sizes (e.g., 5-inch, 11-inch, and a couple of giant 18-inch ones for impact).
- Balloon decorating strip: This is a clear plastic strip with holes in it. It’s the secret weapon.
- Balloon hand pump: Do not try to blow up 80 balloons with your lungs. You will faint before the party starts.
- Command Hooks (heavy duty) & string.
The How-To:
- Inflate: Blow up all your balloons in varying sizes.
- Thread: Start pulling the knots of the medium and large balloons through the holes in the decorating strip, alternating sides and colors to create a clustered effect.
- Hang: Stick 2-3 heavy-duty Command hooks on the wall where you want the garland to go. Tie fishing line or string to the balloon strip and hook it onto the wall mounts.
- Fill the gaps: Use glue dots (or rolled masking tape) to stick the tiny 5-inch balloons into any gaps to hide the strip and create that lush, full look.
Don’t Forget the Props! If people feel awkward posing, give them something to hold! You don’t need to buy cheap plastic props. Make your own to match the theme. Print clever phrases related to the birthday person or the theme onto heavy cardstock using your home printer. Cut them out in fun shapes and hot glue them to wooden dowels.
The Golden Rule of Photo Ops: Lighting is everything. Try to set up your backdrop near natural window light (facing the window, not with the window behind it). If it’s an evening party, ensure there are floor lamps nearby to light up the subjects!
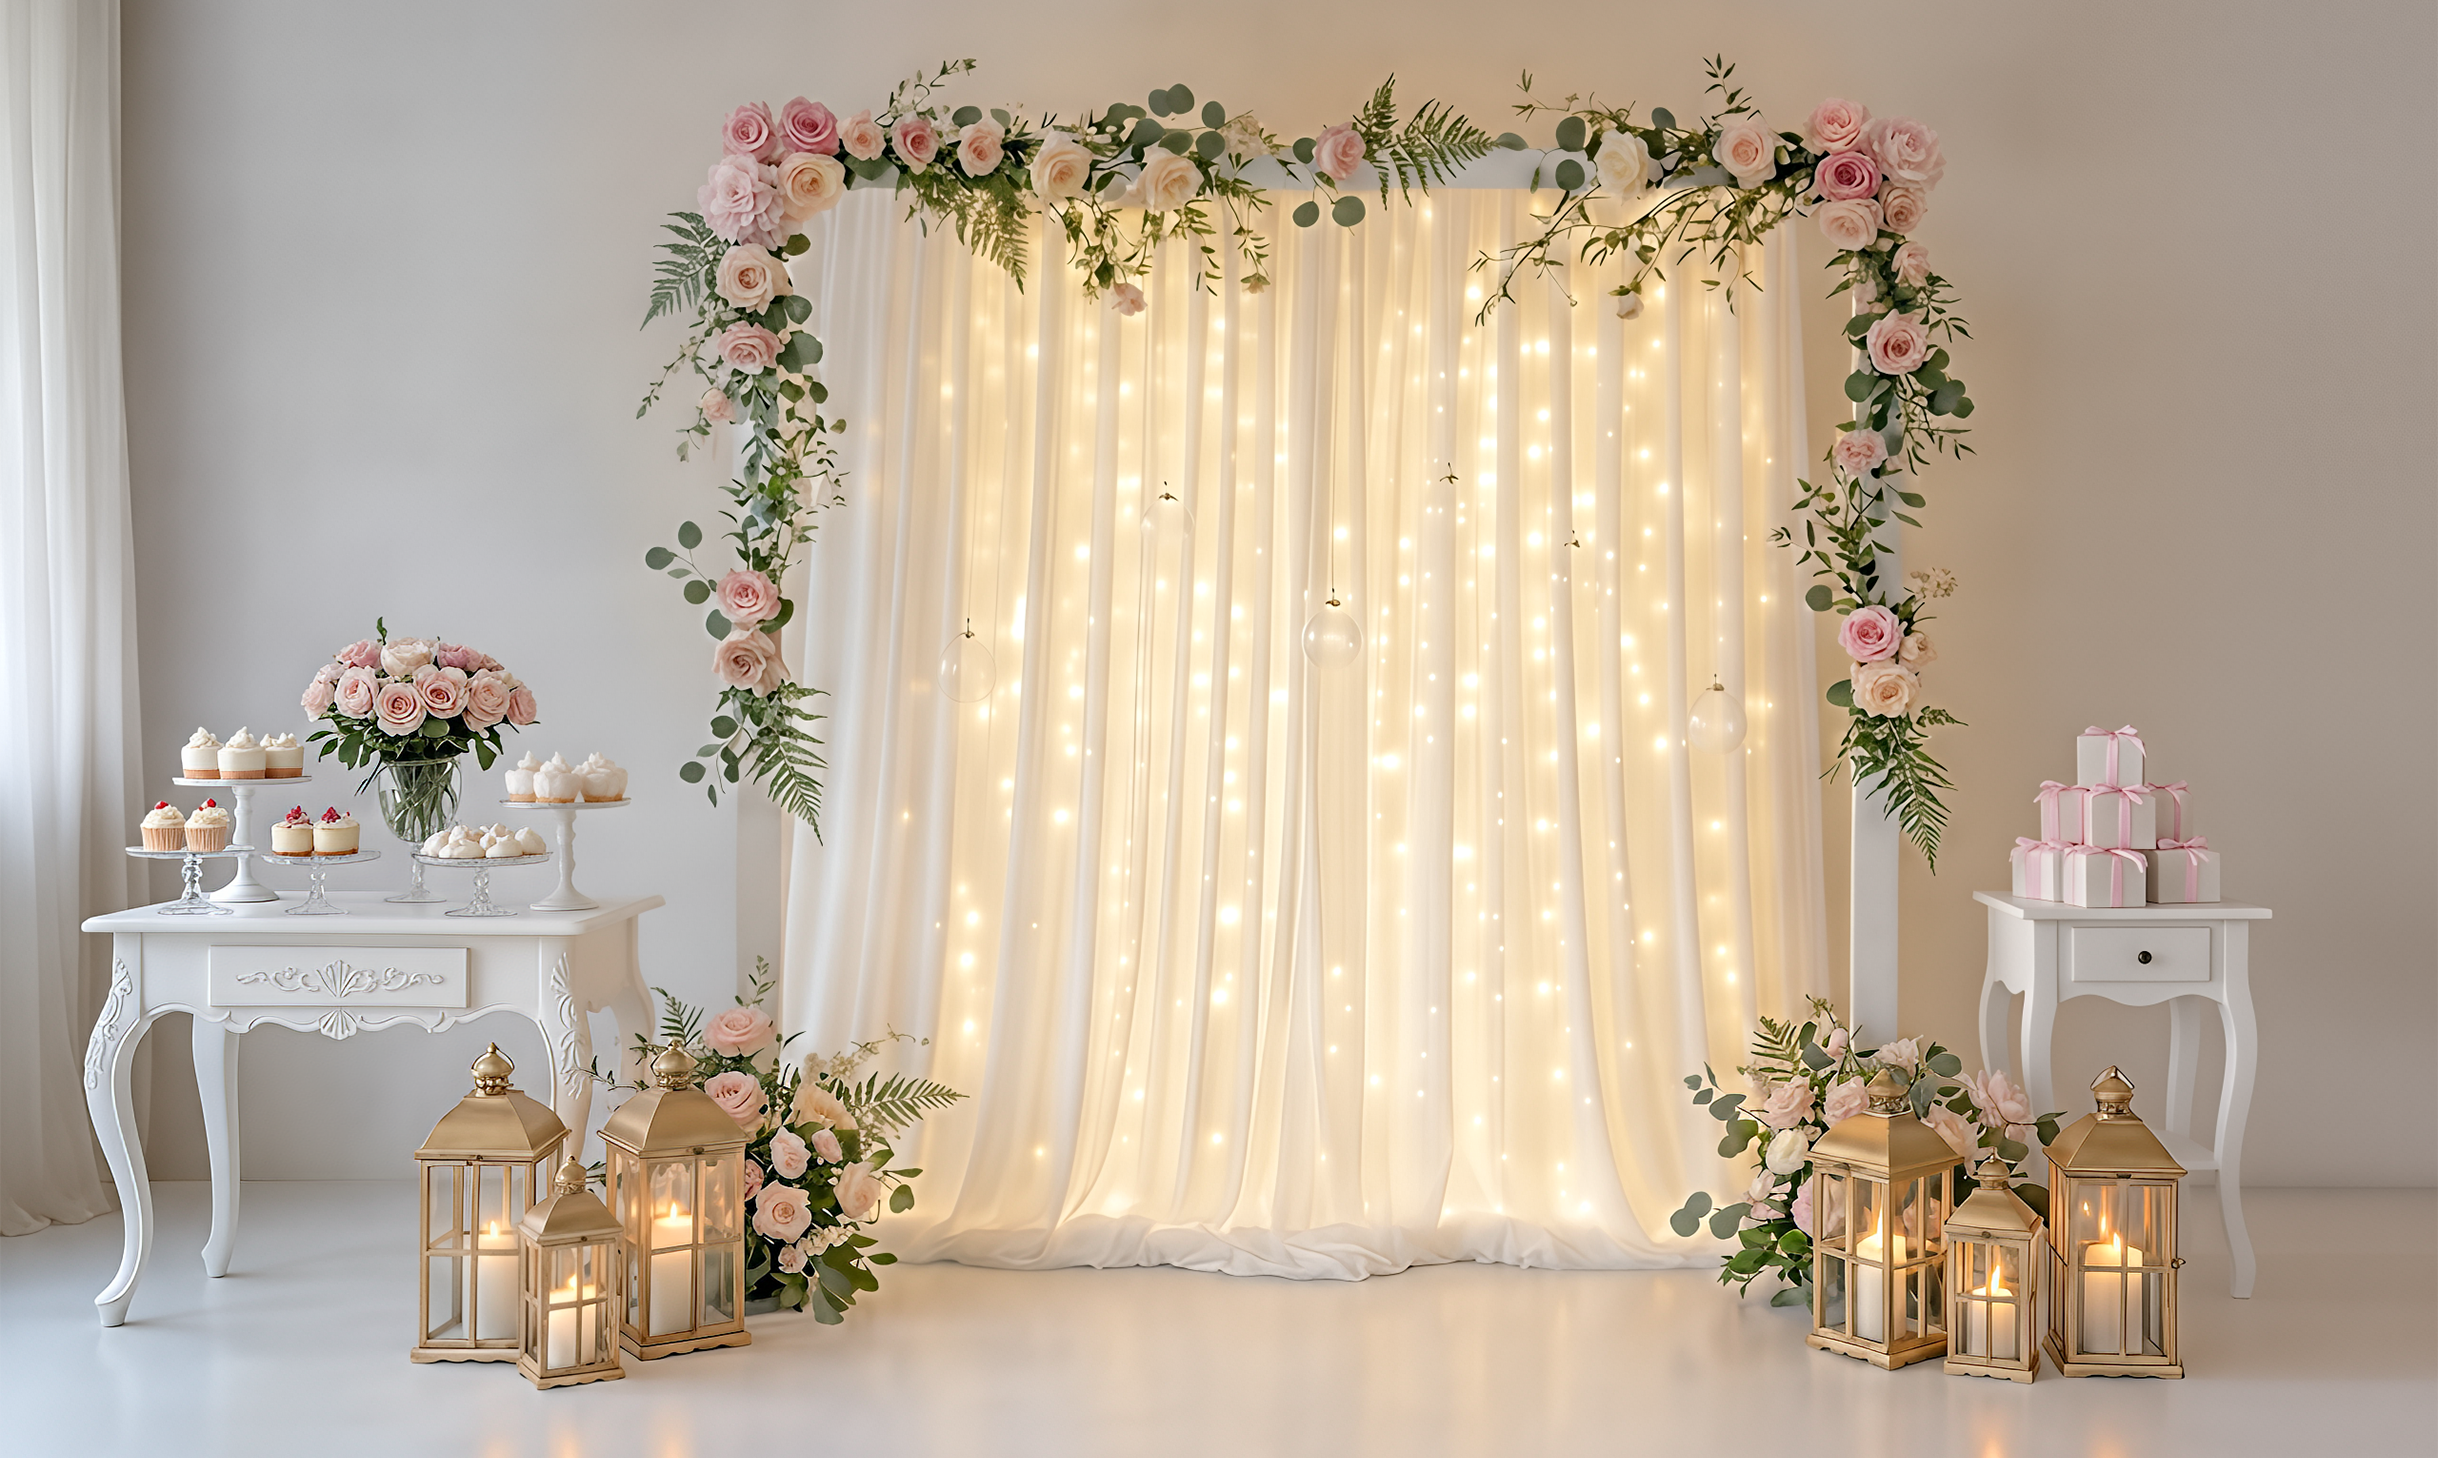
The Fairy Light Curtain (Elegant)
Perfect for evening parties, bridal showers, or more sophisticated birthdays. This creates a soft, flattering glow that everyone looks good in.
The Vibe: Magical, soft, and romantic.
What You Need:
- Inexpensive sheer white curtains (IKEA is great for these).
- A way to hang them (a tension rod in a doorway, or a temporary command hook wire system on a wall).
- Several strands of LED “fairy lights” or curtain lights (warm white looks best).
The How-To:
- Hang your lights first against the wall.
- Hang the sheer curtain in front of the lights.
Don’t Forget the Props! If people feel awkward posing, give them something to hold! You don’t need to buy cheap plastic props. Make your own to match the theme. Print clever phrases related to the birthday person or the theme onto heavy cardstock using your home printer. Cut them out in fun shapes and hot glue them to wooden dowels.
The Golden Rule of Photo Ops: Lighting is everything. Try to set up your backdrop near natural window light (facing the window, not with the window behind it). If it’s an evening party, ensure there are floor lamps nearby to light up the subjects!
Need color inspiration for your streamer wall or balloon garland? Start with the invite!


 Psst...